Creating a Profile Report
Drag the Profile Report tool to the Workspace and then flip it to access the configuration fields.
Procedure
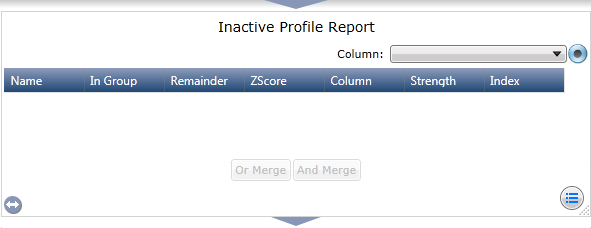
Drag the Profile Report tool to the Workspace.
A blank profile report is displayed:
Flip the report over to display the following configuration screen:
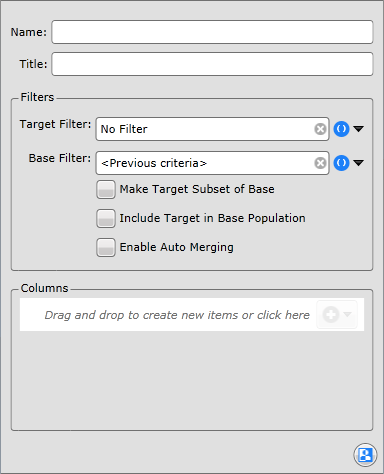
Optional: Enter a name for the report in the field provided. This will not be displayed on the report, but is used as the document identifier when linking documents, for example in a dashboard.
In the
Title field, enter the text that you want to appear at the top of the report as the title.
Configure the fields in the Filters section:
| Field
|
Description
|
| Target Filter |
The segment of records that you want to profile. Build up the filter by dragging columns from the Data Explorer, or use the
Create new drop-down to engineer your filter using the available Campaign Manager tools.
|
| Base Filter |
The records that the Target filter will be compared against. If this is blank the report will compare the Target filter with all the records on the Table, including the Target segment itself, for each of the attributes (columns) that you specify. Build up the Base filter by dragging columns from the Data Explorer. Alternatively, use the [Add] button to display the
Create new drop-down, from which you can engineer your filter using the available Campaign Manager tools.
|
| Make Target Subset of Base |
If checked, this will AND the Target segment with the Base segment and replace the target with the resulting segment. The Base segment is not altered. This option will only be useful in certain circumstances. If you set a Base Segment, then you are explicitly identifying a group of records against which to compare the Profile Segment. These two groups might or might not overlap, for example:
- Responders vs non-responders (no overlap)
- Responders vs mailed (Profile Segment is a subset of Base Segment)
- Customers who purchased product X this year vs customers who purchased product X last year (some overlap, but not complete).
If you use the Make Target a subset of base option, the report replaces the Profile Segment with a domain that is (Profile Segment AND Base Segment). In the examples above the result would be:
- Profile Segment count would become 0
- Profile Segment count would not alter as it is already a subset of the Base Segment
- Profile Segment count might:
- not alter (it is already a subset of Base Segment)
- get smaller (some of the Profile Segment records are in the Base Segment but not all)
- equal zero (the two Segments are mutually exclusive).
It is therefore only in the third example where this option would be useful.
|
| Include Target in Base Population |
This will perform an OR between the Target segment and the Base segment. Any target segment records that are not already in the base segment will be included.
|
| Enable Auto Merging |
There are manual merge options available on the results screen, but checking this box will automatically AND every categorical value with every other categorical value to find groupings of attributes that are statistically significant i.e. which have better Index or ZScore values than the individual attributes.
|
In the
Columns area, drag in the columns that will be used to profile the selected segment. It is advisable to only select columns that do not have a large number of discrete values, as this will make the results more useful.
Flip the chart to view and interpret the results.
|
|


